找到
1
篇与
下载工具
相关的结果
-
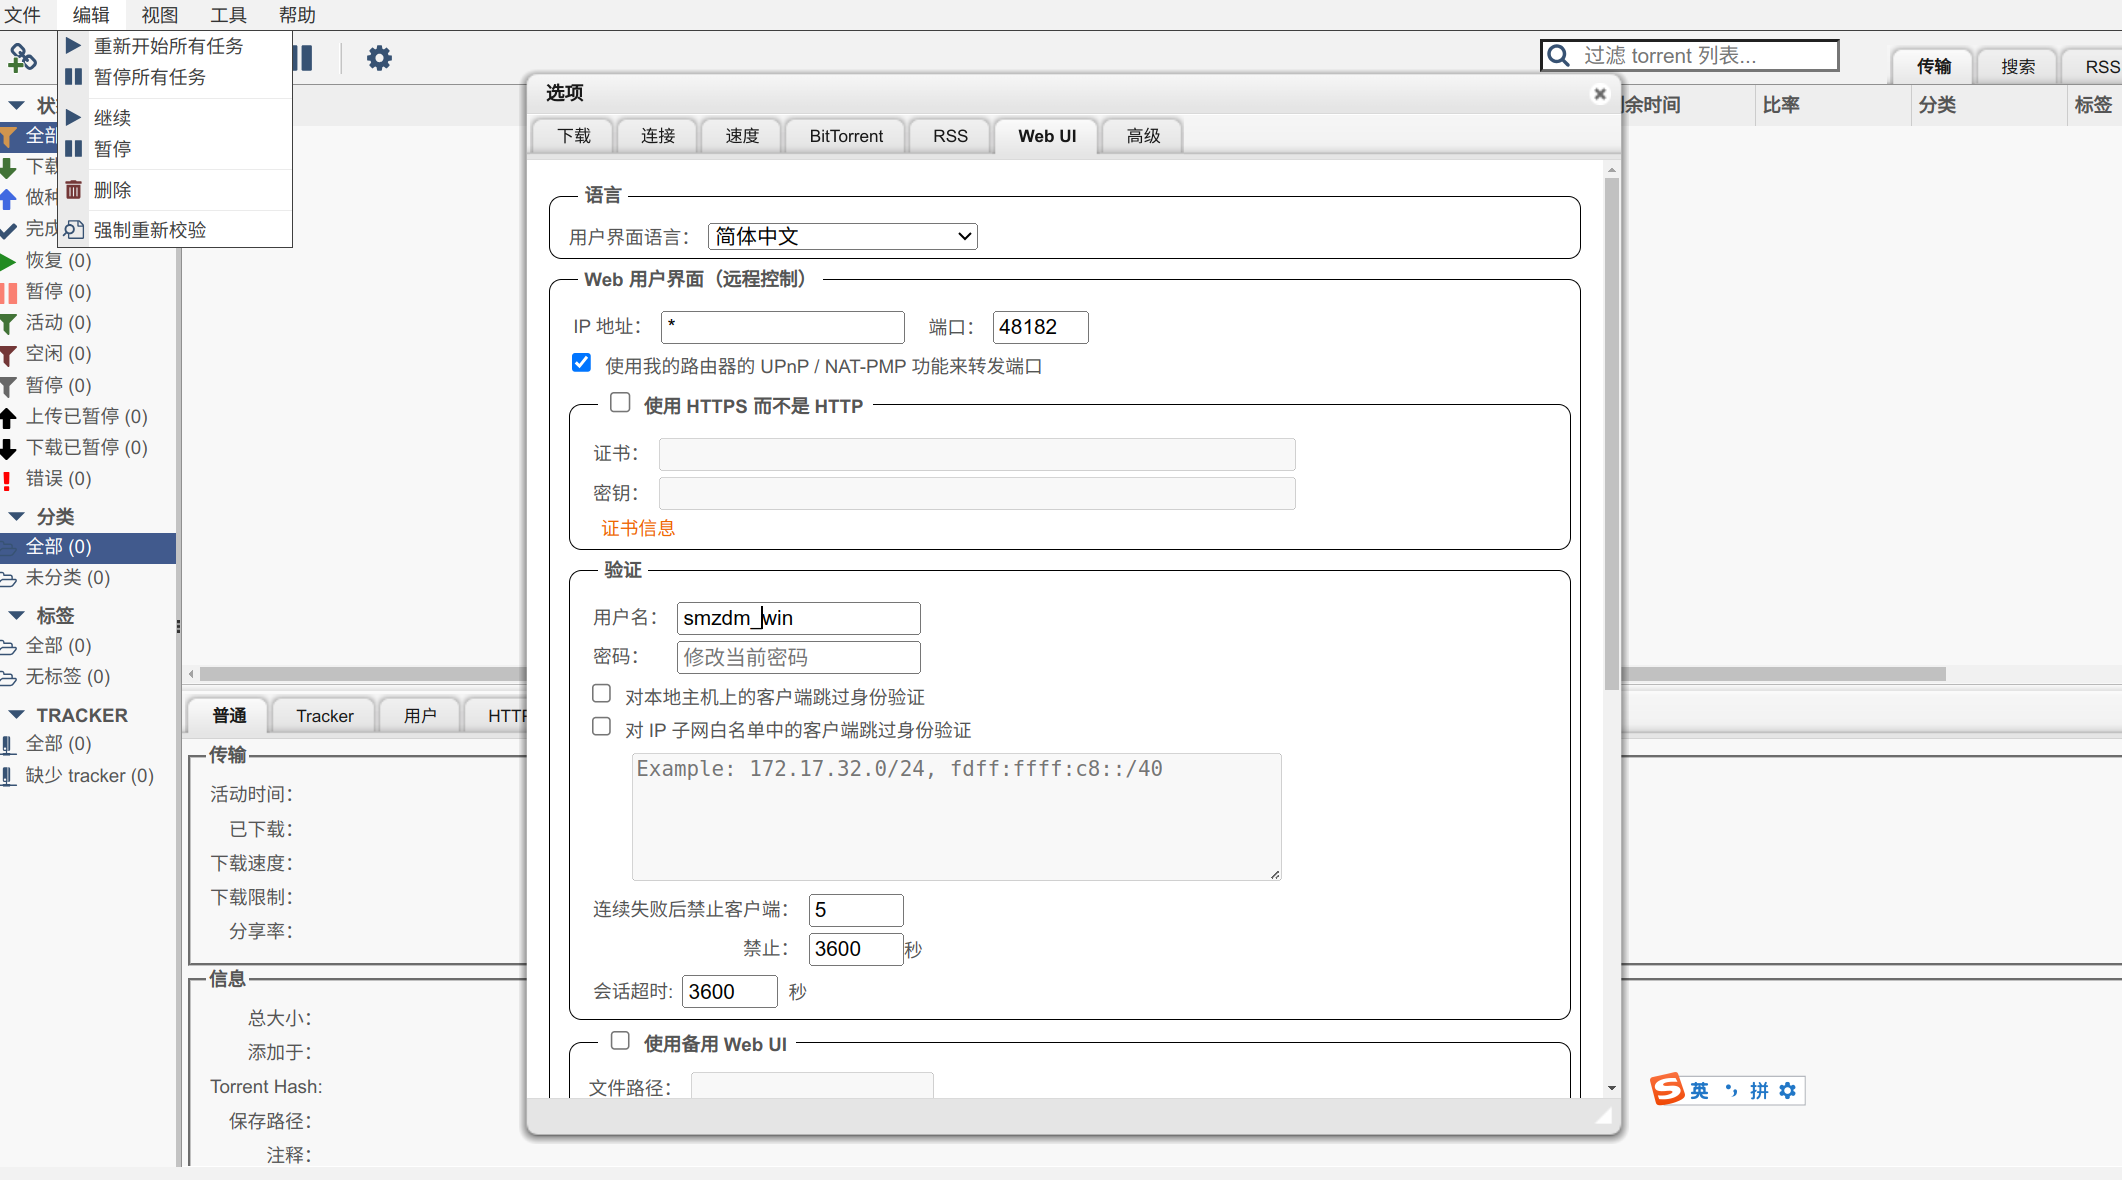
 Debian12 编译安装qbittorrent 本教程适用于qBittorrent4.1.9-4.3.0.1或更新版本 安装须知查阅 https://github.com/arvidn/libtorrent 步骤一:安装libtorrent 1.先安装依赖包: apt update apt install build-essential pkg-config automake libtool git libgeoip-dev python3 python3-dev apt install libboost-dev libboost-system-dev libboost-chrono-dev libboost-random-dev libssl-dev apt install qtbase5-dev qttools5-dev-tools libqt5svg5-dev zlib1g-dev 2.安装libtorrent 1.2.19: wget https://github.com/arvidn/libtorrent/releases/download/v1.2.19/libtorrent-rasterbar-1.2.19.tar.gz tar xf libtorrent-rasterbar-1.2.19.tar.gz cd libtorrent-rasterbar-1.2.19 ./configure --disable-debug --enable-encryption --with-libgeoip=system CXXFLAGS=-std=c++17 make -j$(nproc) make install ldconfig注意提示,有可能c++版本不适合你的系统,可自主选择,如CXXFLAGS=-std=c++17 步骤二:安装qBittorrent 下载地址:https://github.com/qbittorrent/qBittorrent/tags 可自行选择版本 qBittorrent4.3.9为例 wget https://github.com/qbittorrent/qBittorrent/archive/refs/tags/release-4.3.9.tar.gz tar xf release-4.3.9.tar.gz cd qBittorrent-release-4.3.9 ./configure --disable-gui --disable-debug make -j$(nproc) make install 步骤三:设置开机自启 编辑: nano /etc/systemd/system/qbittorrent.service 输入以下内容: [Unit] Description=qBittorrent Daemon Service After=network.target [Service] LimitNOFILE=512000 User=root ExecStart=/usr/local/bin/qbittorrent-nox ExecStop=/usr/bin/killall -w qbittorrent-nox [Install] WantedBy=multi-user.target 启用以上设置: systemctl enable qbittorrent.service 步骤四:首次启动qBittorrent(首次启动请按y确认条款) qbittorrent-nox 按Ctrl+C退出 后台运行qBittorrent: systemctl start qbittorrent.service 安装完成 访问WebUI:http://你的IPADDRESS:8080/ 默认用户名:admin 默认密码:adminadmin为了安全,可修改8080端口,用户名及密码 2024-04-06_13-32.png图片 接着: 关闭qBittorrent命令: systemctl stop qbittorrent.service 启动qBittorrent命令: systemctl start qbittorrent.service 重启qBittorrent命令: systemctl restart qbittorrent.service 步骤五:创建下载文件夹和设置权限 现在目录可根据自己设置 mkdir /home/Downloads chmod 777 /home/Downloads 把下载路径设置到/home/Downloads就OK了!


